Getting the water just right is the secret to perfect boiled eggs. It’s not just about boiling; it’s about that gentle simmer that keeps the yolks tender and vibrant. I’ve spent years fine-tuning the timing, and small tweaks really do make a difference.
This recipe isn’t about shortcuts or fancy gadgets. It’s about understanding water temperature and how it affects texture. When you get these details right, you’ll find boiling eggs becomes almost meditative—no more overcooked rubber or underdone runnies.
There’s something satisfying about mastering this basic skill. It’s a humble dish, but when done right, it’s incredibly versatile—breakfast, snack, or a quick addition to salads. Plus, the smell of gently boiling eggs is oddly comforting, like a quiet moment in the kitchen.
Focusing on the overlooked importance of water temperature and timing for perfectly tender yolks, this recipe emphasizes how small adjustments make a big difference in achieving consistent results.
The story behind this recipe
- I remember the first time I boiled eggs and completely overcooked them, ending up with grayish yolks and a rubbery texture. It was a lesson in patience and water temperature—something I had overlooked for too long.
- One lazy Sunday, I decided to really pay attention to how different times and water temps changed the outcome. That quiet, almost meditative process of adjusting and tasting became a small ritual I now cherish.
- This recipe isn’t just about cooking eggs; it’s about reclaiming a simple task with a bit of focus. The smell of gently boiling eggs, the anticipation of that tender yolk—those little moments have a way of making the mundane feel special.
Key ingredients and tips
- Eggs: Fresh eggs have a slightly thicker shell, which makes peeling easier if you handle them gently after boiling. Older eggs tend to peel more cleanly—try to use eggs that are a week or two old for hassle-free peeling.
- Water: I prefer cold water to start, so the eggs heat evenly. If you start with hot water, you risk cracking or uneven cooking—plus, it’s less predictable in timing. Keep it simple with a steady simmer.
- Salt: A pinch of salt in the water helps prevent cracking and can make peeling easier. I don’t overdo it—just enough to slightly season the water and help the shells slip off.
- Vinegar (optional): A splash of vinegar can help soften the shell a bit, making peeling easier. It also faintly brightens the egg’s flavor—just a teaspoon or so in the boiling water.
- Ice bath: Immediately plunging boiled eggs into an ice bath stops the cooking instantly and tightens the membrane, making peeling less frustrating. It’s the trick that keeps yolks tender and prevents that greenish ring.
- Timing: Small adjustments matter. I usually go for 9-10 minutes for a firm but tender yolk. Too long, and the yolk turns powdery; too short, and it’s runny. Use a timer—trust me, it makes all the difference.
- Pan size: Use a pan that comfortably fits your eggs in a single layer. Overcrowding causes uneven cooking and cracks. Keeping them snug but not crammed ensures consistent results.
Spotlight on Key Ingredients
Eggs:
- Fresh eggs feel heavier and have a smoother shell, but older eggs peel more easily after boiling—an odd quirk worth noting.
- Egg whites: When cooked properly, they turn firm and slightly chewy, with a gentle bounce. Overcooking makes them rubbery and dull in appearance.
- Yolks: Bright yellow to deep gold, they should be tender yet set. A greenish tint around the edges signals overcooking—something to watch for.
Notes for ingredient swaps
- Eggs: Use slightly older eggs for easier peeling. Fresh eggs are great for flavor but can be stubborn to peel.
- Water: Tap water works fine, but filtered water can prevent mineral deposits and taste a bit cleaner.
- Salt: Skip if you prefer a pure egg flavor. A pinch helps prevent cracking but isn’t essential.
- Vinegar: Lemon juice or apple cider vinegar can be used for a similar effect, brightening flavor slightly.
- Ice bath: Cold tap water is usually enough, but adding a handful of ice speeds up the process and ensures quick stopping.
- Timing: If eggs are large, add a minute to your cooking time. Smaller eggs may need a bit less.
- Pan size: Use a non-stick or stainless pan with a snug fit to avoid cracking and uneven cooking.
Equipment & Tools
- Saucepan: To hold water and eggs for boiling.
- Slotted spoon: To transfer eggs safely into ice bath.
- Ice bath bowl: To halt cooking instantly and aid peeling.
- Timer: To precisely time cooking for perfect yolk consistency.
- Kitchen towel or paper towels: To dry eggs after peeling if needed.
Step-by-step guide to boiled eggs
- Gather your eggs and select a pan that can hold them in a single layer comfortably. Fill with cold water, enough to cover eggs by about an inch.
- Place the eggs in the pan gently, avoiding any cracks. Turn on the stove to medium-high heat, aiming for about 90°C to 96°C (194°F to 205°F).
- Bring the water to a gentle simmer. You should see small bubbles breaking the surface, not a rolling boil. This ensures tender yolks and even cooking.
- Once simmering, set a timer for 9-10 minutes for medium-sized eggs. For larger eggs, add an extra minute. Keep the heat steady, adjusting if necessary to maintain gentle simmer.
- While eggs cook, prepare an ice bath—fill a bowl with ice and water. This halts the cooking instantly and makes peeling easier.
- When the timer goes off, use a slotted spoon to transfer eggs into the ice bath. Let them sit for at least 5 minutes. This step is key for easy peeling and perfect texture.
- After resting, gently tap each egg on a hard surface to crack the shell, then peel under running cold water to remove stubborn bits.
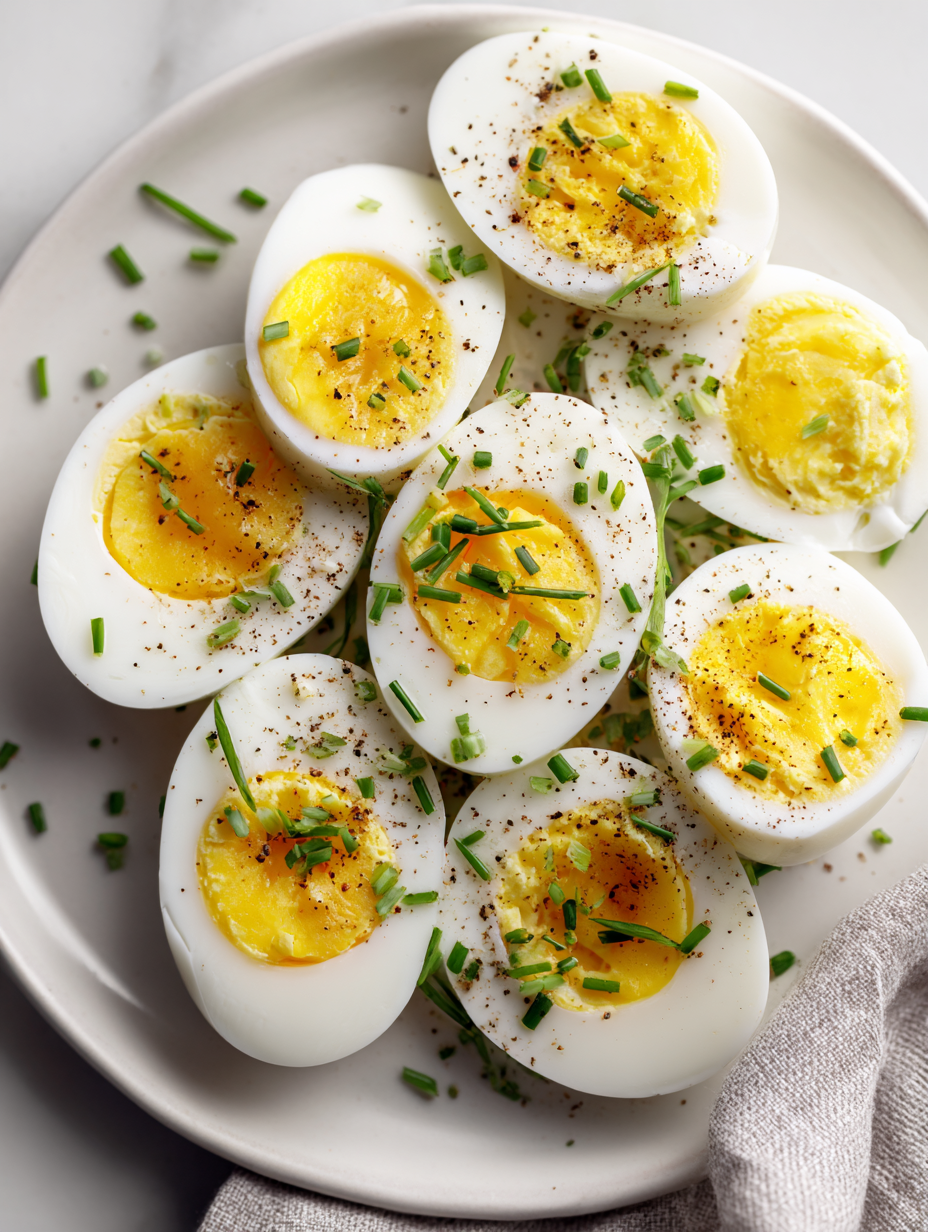
- Inspect your eggs: the yolks should be firm but tender, with a bright yellow color. If they’re slightly runny or powdery, adjust timing next time.
- For serving, slice or peel your eggs as needed. They’re perfect for salads, snacks, or breakfast plates, with that satisfying, tender yolk intact.
- Remember, every stove and pan is a little different. Keep notes on your timing and temperature to fine-tune your perfect boiled egg process.
Transfer eggs to the ice bath immediately after cooking. Let sit for at least 5 minutes. Gently tap shells to crack, then peel under cold running water. Serve or store as desired.
How to Know It’s Done
- Yolk: Bright, slightly tender when pierced with a finger or fork.
- Egg white: Firm, not rubbery, with a smooth surface.
- Crackling sound: Gentle crackle as eggs hit the ice bath, indicating proper stop to cooking.
Perfect Boiled Eggs
Ingredients
Equipment
Method
- Place eggs gently in a saucepan in a single layer, avoiding cracks. Pour cold water over them until fully submerged by about an inch.
- Add a teaspoon of salt and vinegar to the water. Turn the heat to medium-high and bring the water to a gentle simmer—small bubbles should break the surface, not a rolling boil.
- Once the water is gently simmering, set your timer for 9 to 10 minutes for medium-sized eggs. Adjust by a minute if your eggs are larger.
- While the eggs cook, prepare an ice bath by filling a bowl with cold water and ice. This will stop the cooking instantly and help with peeling.
- When the timer goes off, carefully lift the eggs with a slotted spoon and transfer them into the ice bath. Let them sit for at least 5 minutes—this halts the cooking and tightens the membranes.
- After cooling, gently tap each egg on a hard surface to crack the shell, then peel under running cold water to loosen the shell and remove stubborn bits.
- Inspect your eggs: the yolks should be bright yellow, tender but set, and the whites firm. If they’re slightly runny or powdery, adjust your timing next time.
- Serve the eggs sliced or whole, perfect for salads, snacks, or breakfast. The tender yolks and smooth whites make for a satisfying bite every time.
Notes
Pro tips for perfect boiled eggs
- Gentle simmer: Keep water just below boiling point for tender yolks and even cooking.
- Start cold: Cover eggs with cold water to prevent cracking and ensure uniform heat transfer.
- Ice bath: Chill eggs immediately after cooking to stop residual heat and ease peeling.
- Timing precision: Use a timer to hit that sweet spot—9 to 10 minutes for medium yolks.
- Crack and peel: Tap shells gently and peel under running cold water for smooth removal.
- Pan size matters: Use a pan that fits eggs in a single layer to avoid cracks and uneven cooking.
- Adjust for size: Larger eggs need an extra minute; smaller eggs need less. Keep notes for consistency.
Common mistakes and how to fix them
- FORGOT to check water temperature → use a thermometer for precise simmering.
- DUMPED eggs into boiling water → start with cold water to prevent cracking.
- OVER-TORCHED the eggs → reduce heat if water boils too vigorously.
- UNDERVALUE timing → set a timer and stick to it for consistent yolks.
Quick fixes and pantry swaps
- If eggs crack during boiling, splash cold water to cool quickly and prevent further cracking.
- When eggs are hard to peel, dunk in hot water for 1 minute to loosen shells.
- Splash cold water immediately if eggs overcook, to stop the greenish ring from forming.
- Patch a runny yolk by gently placing eggs back in hot water for 30 seconds—be quick!
- Shield eggs from pantry dust by storing in a sealed container or egg cup for easy access.
Prep, store, and reheat tips
- Boiled eggs can be prepped a day in advance—store them unpeeled in the fridge for up to 5 days. The shells help keep moisture in and prevent odors, but expect the whites to slightly dry out over time.
- For easy peeling, keep the eggs in a sealed container or a paper towel-lined dish. Gently handle to avoid cracking the shells, especially if they’ve been stored for a couple of days.
- Reheat peeled eggs by gently warming in hot water for 30 seconds to 1 minute—watch for a slight shimmer on the surface, indicating they’re warm enough without overcooking the yolk.
- If you’re storing peeled eggs, consume within 2 days to keep the texture tender and the flavor fresh. The whites may become a bit rubbery if kept too long.
- For best flavor, bring refrigerated eggs to room temperature for a few minutes before serving. The subtle aroma of fresh egg should be noticeable—no sulfurous smell if stored properly.
Top questions about boiled eggs
1. Why do my eggs peel badly?
Use eggs that are a week or two old; they peel more easily than super fresh eggs.
2. Should I start with hot or cold water?
Start with cold water, then bring to a gentle simmer. This prevents cracking and overcooking.
3. How long should I cook boiled eggs?
Aim for 9-10 minutes for a firm but tender yolk; adjust slightly for larger eggs.
4. Why do I need an ice bath?
Immediately plunge eggs into an ice bath after cooking to stop the process and make peeling easier.
5. What if my eggs crack while boiling?
If eggs crack during boiling, reduce heat or add a teaspoon of vinegar to the water.
6. How do I peel eggs easily?
Peel eggs under cold running water to loosen the shell and prevent sticking.
7. How long can I store boiled eggs?
Store unpeeled eggs in the fridge for up to 5 days; peeled eggs last about 2 days.
8. How do I reheat boiled eggs?
Reheat peeled eggs by soaking in hot water for 30 seconds to warm them without overcooking.
9. What pan size should I use?
Use a pan that fits eggs in a single layer to ensure even cooking and prevent cracking.
10. Do larger eggs need longer cooking?
Adjust cooking time slightly based on egg size—larger eggs need a bit more time.
Mastering the simple boiled egg feels like a quiet victory—those tender yolks and smooth whites can brighten any morning. It’s not about perfection, but about understanding the tiny details—timing, water temp—that make all the difference.
When you get it right, that faint sulfur smell is replaced by a warm, comforting aroma. Sometimes, it’s the simplest skills that remind us how satisfying a small, deliberate act in the kitchen can be.

Hi, I’m Daniel Whitaker, the voice and recipe developer behind Broth Psychologist. I’m so glad you’re here. This little corner of the internet started as a way for me to share comfort through cooking, but it has grown into something much deeper.
 Hi, I’m Daniel Whitaker, the voice and recipe developer behind Broth Psychologist. I’m so glad you’re here.
This little corner of the internet started as a way for me to share comfort through cooking, but it has grown into something much deeper.
It’s where food meets feeling, and where simple ingredients tell meaningful stories.
Hi, I’m Daniel Whitaker, the voice and recipe developer behind Broth Psychologist. I’m so glad you’re here.
This little corner of the internet started as a way for me to share comfort through cooking, but it has grown into something much deeper.
It’s where food meets feeling, and where simple ingredients tell meaningful stories.


