I’ve always loved the contrast of sweet and dark, the way a simple cupcake can transform into something a little mischievous with just a few tweaks. This recipe started as a joke with a friend, but it turned into a tradition—something I whip out when the air turns crisp and the nights get longer. It’s a tiny act of magic, creating something that looks spooky but tastes cozy.
Why These Cupcakes Call Me Back
They remind me of childhood Halloweens, the thrill of dressing up and pretending to be something supernatural. Plus, they’re perfect for last-minute parties, turning ordinary cupcakes into a showstopper with just a few decorations. The combination of cozy cake and a touch of spooky makes every bite memorable, especially when shared with friends or family.
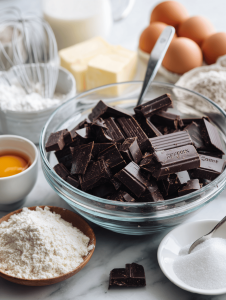
Dark & Delicious Ingredient Secrets
- Cake flour: Gives a tender crumb, but all-purpose works if you’re in a pinch.
- Granulated sugar: Sweetens just right, try brown sugar for a richer flavor.
- Eggs: Bind everything together, add moisture, and lift the batter.
- Milk: Keeps the batter moist; substitute with almond or oat milk for dairy-free.
- Butter: Adds richness and flavor—use melted for easier mixing.
- Chocolate for hats: Rich, glossy, temper it for a shiny, crack-free finish.
- Vanilla extract: Brightens the overall flavor, skip if you want a darker vibe.
Tools of the Dark Arts
- Muffin tin: Holds the cupcake liners and provides structure.
- Mixing bowls: Combine ingredients easily and with control.
- Electric mixer or whisk: Ensure smooth, airy batter.
- Cooling rack: Cool cupcakes evenly and prevent sogginess.
- Piping bag and tips: Apply frosting neatly and with flair.
- Chocolate melting bowl or microwave: Melt chocolate for the hats.
Step-by-Step to Craft Your Witchy Treats
Step 1: Preheat your oven to 180°C (350°F).
Step 2: Line a muffin tin with paper liners—these will be your cupcake bases.
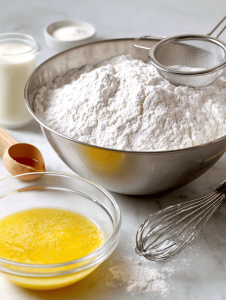
Step 3: Mix flour, sugar, baking powder, and a pinch of salt in a bowl.
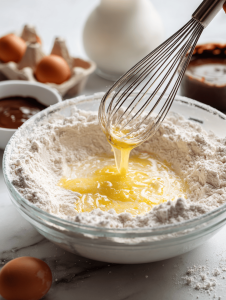
Step 4: In another bowl, whisk eggs, milk, melted butter, and vanilla extract until smooth.
Step 5: Combine wet and dry ingredients just until incorporated, don’t overmix.
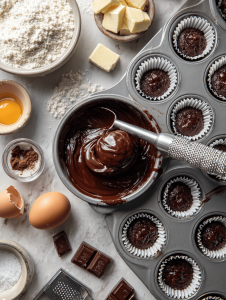
Step 6: Scoop batter into the liners, filling about two-thirds full.
Step 7: Bake for 18-20 minutes until a toothpick inserted comes out clean.
Step 8: While baking, prepare the frosting and chocolate cones for the hats.
Step 9: Once cupcakes are cool, frost generously with your chosen icing.
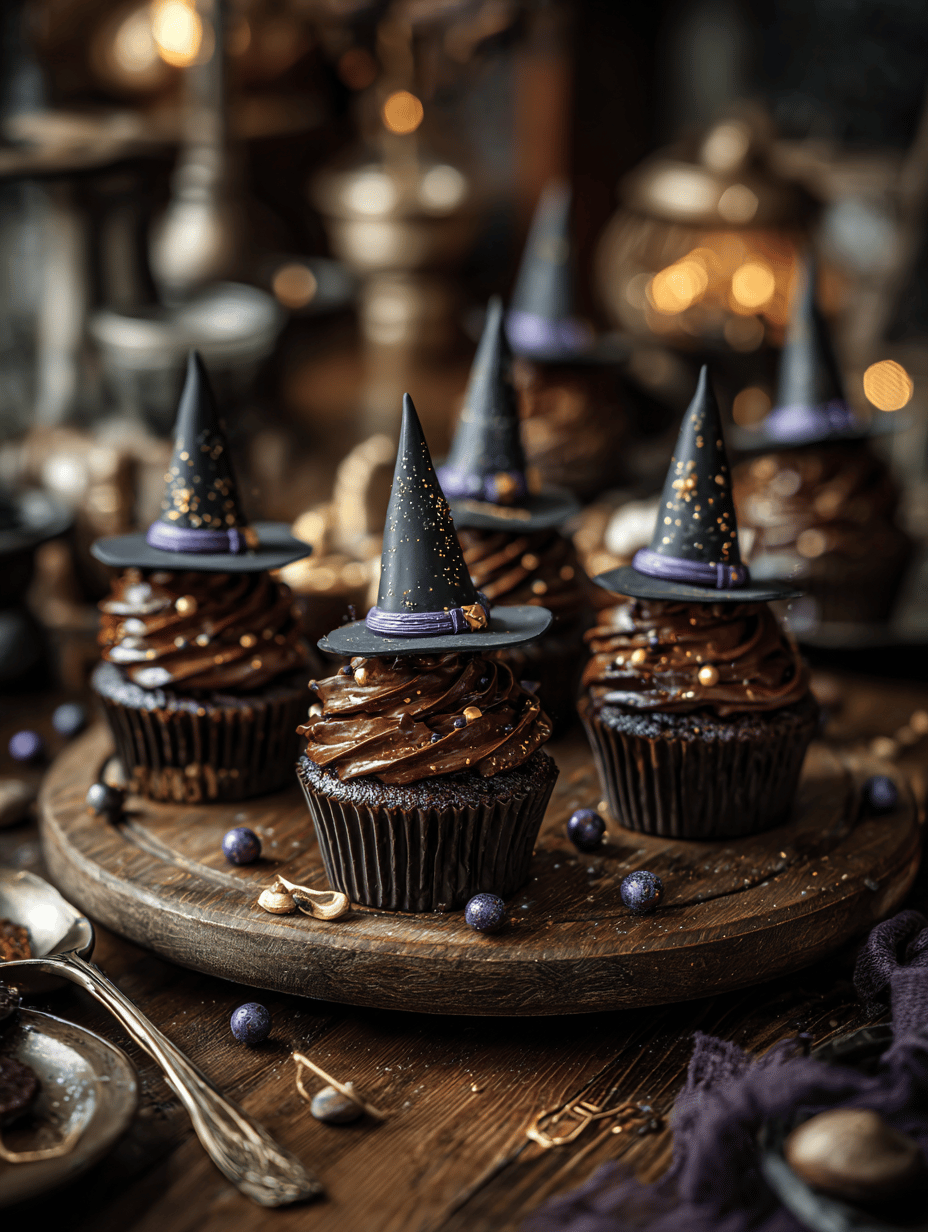
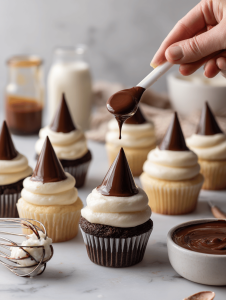
Step 10: Attach chocolate cones at an angle to mimic witch hats, using a dab of frosting as glue.
Cautionary Tales & Tips for Witch Hat Cupcakes
- Ensure cupcakes are fully cooled before frosting, or the icing will slide off.
- Watch the oven closely—overbaking can dry out the cupcakes, making them crumbly.
- When attaching the chocolate hats, use enough frosting to keep them steady but not so much that it oozes out.
- Check the chocolate cones for cracks or chips; a smooth, shiny surface indicates proper tempering.
Witchy Woes & How to Fix Them
- Underbaked cupcakes may be dense and wet inside.? Use a toothpick to test doneness; if it comes out clean, they’re ready.
- Soft, melty chocolate cones that lose shape.? Chill the chocolate before shaping for cleaner cones.
- Frosting slipping off or melting.? Frost cupcakes when fully cooled to prevent sliding.
- Chipped or cracked chocolate hats.? Handle chocolate carefully to avoid cracks.
Dark & Spooky Halloween Cupcakes
Ingredients
Equipment
Method
- Preheat your oven to 180°C (350°F) and line a muffin tin with paper liners. In a large mixing bowl, sift together the flour, sugar, baking powder, and salt until evenly combined. In a separate bowl, whisk eggs, milk, melted butter, and vanilla extract until the mixture is smooth and fragrant.
- Pour the wet ingredients into the dry and gently fold together using a spatula or whisk until just combined. Be careful not to overmix; the batter should be slightly lumpy but well incorporated.
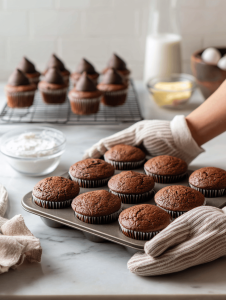
- Scoop the batter evenly into the cupcake liners, filling each about two-thirds full. Place the tray in the oven and bake for 18-20 minutes, or until a toothpick inserted into the center comes out clean. The cupcakes will be golden and spring back when lightly pressed.
- While the cupcakes are baking, melt the chocolate by chopping it into small pieces and heating in a microwave in 30-second bursts, stirring in between until smooth. Allow the melted chocolate to cool slightly until it thickens but remains pourable.
- Remove the cupcakes from the oven and let them cool in the tray for 5 minutes. Then transfer them to a cooling rack and let them cool completely—this prevents frosting from melting.
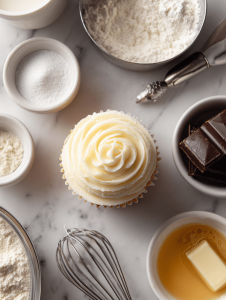
- Once cooled, generously pipe or spread your chosen frosting onto each cupcake, creating a smooth, inviting surface that’s perfect for decoration.
- Dip the top of each chocolate cone into the melted chocolate to create a glossy, shiny hat. Place the chocolate hats on the frosted cupcakes at an angle, pressing gently to secure them with a dab of frosting as glue.
- Allow the chocolate hats to set at room temperature or refrigerate briefly to speed up the process. Check that they are firm and shiny before serving.
Notes

Hi, I’m Daniel Whitaker, the voice and recipe developer behind Broth Psychologist. I’m so glad you’re here. This little corner of the internet started as a way for me to share comfort through cooking, but it has grown into something much deeper.
 Hi, I’m Daniel Whitaker, the voice and recipe developer behind Broth Psychologist. I’m so glad you’re here.
This little corner of the internet started as a way for me to share comfort through cooking, but it has grown into something much deeper.
It’s where food meets feeling, and where simple ingredients tell meaningful stories.
Hi, I’m Daniel Whitaker, the voice and recipe developer behind Broth Psychologist. I’m so glad you’re here.
This little corner of the internet started as a way for me to share comfort through cooking, but it has grown into something much deeper.
It’s where food meets feeling, and where simple ingredients tell meaningful stories.


