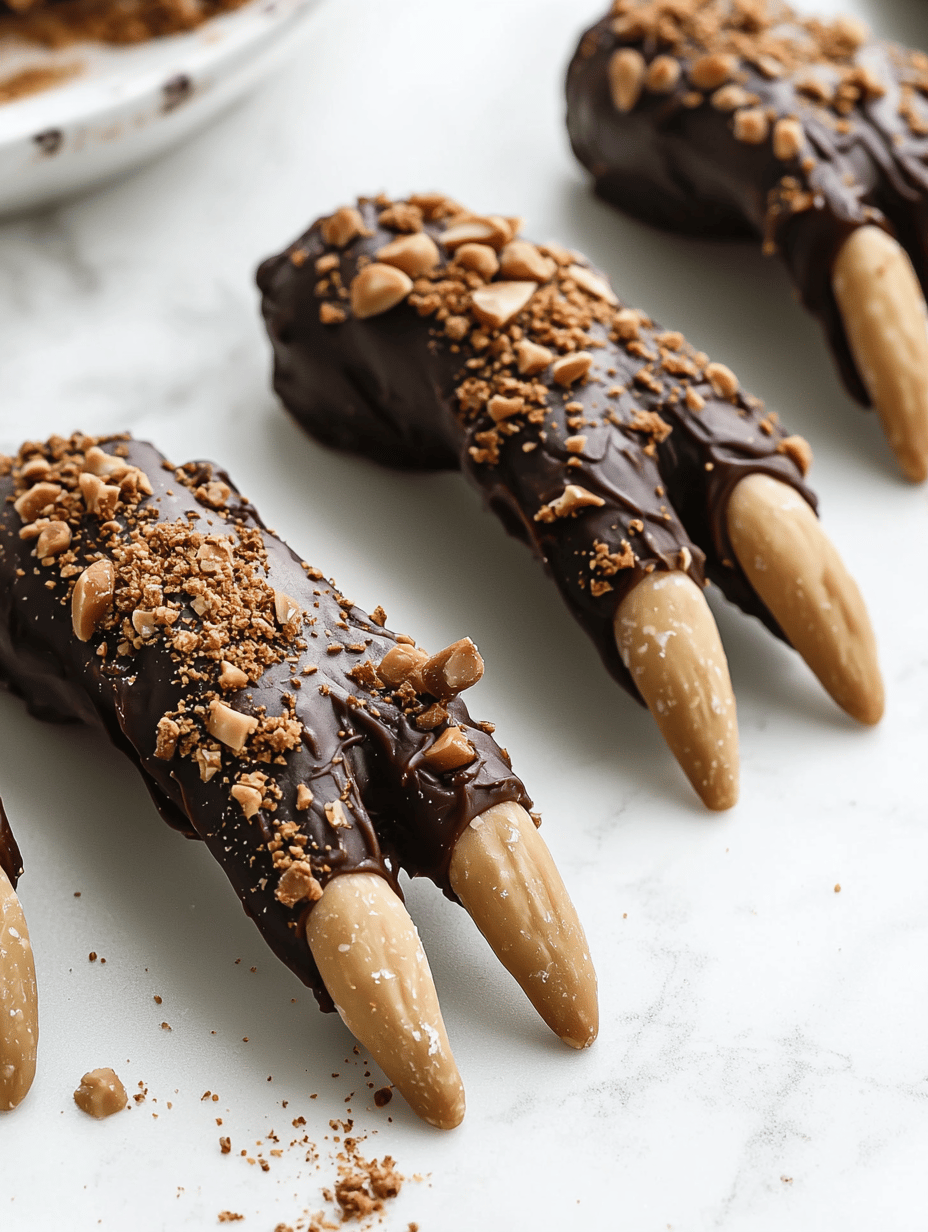
Every October, the kitchen becomes my haunted workshop, and these Witch Finger Cookies are my most bewitching creation. They look eerily realistic, with long, knobby fingers that seem to beckon mischievous spirits to the table. The aroma of buttery dough mingles with a whisper of almond, evoking childhood memories of Halloween nights full of sweet surprises.
What draws me most to this recipe is how it transforms simple ingredients into tiny works of art that dance on the edge of spooky and adorable. Each hand-crafted finger is a small triumph, perfect for parties or spooky movie marathons. The process is chaotic, joyful, and a tad bit messy, but that’s part of the magic.
Witch Finger Cookies
Ingredients
Equipment
Method
- Preheat your oven to 350°F (175°C) and line a baking sheet with parchment paper for easy cleanup.
- In a large mixing bowl, beat the softened butter and sugar together until the mixture is light and fluffy, about 2-3 minutes, and it turns pale.
- Add the egg and almond extract to the butter mixture, then beat until well combined and smooth, approximately 1 minute.
- In a separate bowl, whisk together the flour, baking powder, and salt. Gradually add this dry mixture to the wet ingredients, mixing on low speed until a soft dough forms.
- Divide the dough into 24 equal pieces, then roll each piece into an elongated finger shape, tapering the ends slightly and adding knobby details for a creepy effect.
- Place each shaped dough finger onto the prepared baking sheet, spacing them about 1-2 inches apart.
- Use a small knife or toothpick to gently press a shallow notch at the top of each finger to hold an almond slice for a fingernail.
- Gently press an almond slice into each notch to resemble a fingernail, securing it lightly with the dough if needed.
- Bake the cookies in the preheated oven for 12-15 minutes, or until the edges are golden brown and the fingers look slightly cracked and spooky.
- Remove the cookies from the oven and let them cool on the baking sheet for a few minutes before transferring them to a wire rack to cool completely.
- Once cooled, these eerie cookies are ready to serve. Their realistic fingers are perfect for Halloween parties or spooky movie nights.
Notes
As the last crumb is swept away, I feel a quiet satisfaction, knowing these creepy little cookies added a touch of whimsy to the spooky season. They’re a nostalgic nod to childhood fears and delights, wrapped up in a bite-sized package. Every squeal of surprise from curious guests reminds me why I love creating edible illusions.
This recipe isn’t just about Halloween decor; it’s about celebrating the playful, slightly grotesque side of baking. As autumn leaves swirl outside my window, I’m already dreaming up my next edible costume for the kitchen. These witch fingers will surely haunt my baking adventures for years to come.

Hi, I’m Daniel Whitaker, the voice and recipe developer behind Broth Psychologist. I’m so glad you’re here. This little corner of the internet started as a way for me to share comfort through cooking, but it has grown into something much deeper.
 Hi, I’m Daniel Whitaker, the voice and recipe developer behind Broth Psychologist. I’m so glad you’re here.
This little corner of the internet started as a way for me to share comfort through cooking, but it has grown into something much deeper.
It’s where food meets feeling, and where simple ingredients tell meaningful stories.
Hi, I’m Daniel Whitaker, the voice and recipe developer behind Broth Psychologist. I’m so glad you’re here.
This little corner of the internet started as a way for me to share comfort through cooking, but it has grown into something much deeper.
It’s where food meets feeling, and where simple ingredients tell meaningful stories.


