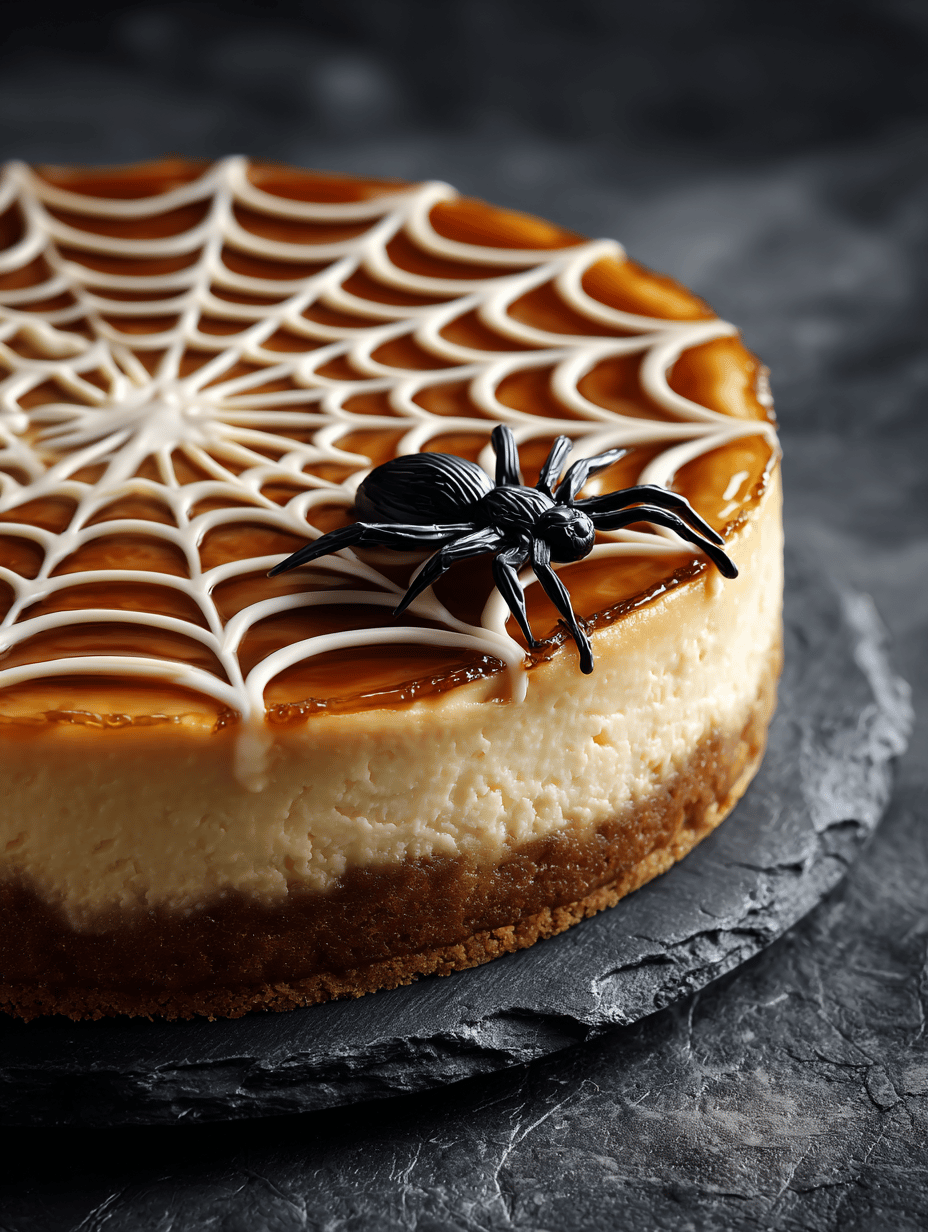
This spiderweb cheesecake started as a fun experiment with patterns and textures. I wanted to turn a simple dessert into something playful and visually striking, perfect for a spooky gathering or a creative twist on a familiar favorite. It’s all about making the ordinary extraordinary, even if just for a night.
Why I Keep Coming Back to This Cheesecake
It’s the perfect mix of playful presentation and comforting flavor. Every time I make it, the process feels like a mini celebration. Plus, it’s a guaranteed showstopper that sparks conversations and smiles. I keep returning to it because it reminds me that baking can be a fun, artistic act—more than just a recipe.
Breaking Down the Ingredients — What Makes It Work
- Cream cheese: The creamy base that sets the mood for richness, needs to be softened for smooth blending.
- Cookie crumbs: Graham crackers or digestives, they bring a buttery crunch, but substitute with digestive biscuits for a nuttier flavor.
- Chocolate syrup: Swirls into the batter for depth; opt for dark or semi-sweet for balance.
- Sour cream: Adds tang and creaminess; full-fat sour cream enhances flavor.
- Vanilla extract: A splash brightens the whole thing, but almond extract can add a nutty twist.
- Chocolate for web: Melted dark chocolate or white chocolate, whichever makes your web pop.
- Butter: Melted to bind the crust, use unsalted butter for control over saltiness.
Tools of the Trade for Your Web of Deliciousness
- Springform pan: To bake the cheesecake evenly and easily remove it.
- Mixing bowls: For blending ingredients smoothly.
- Spatula: To fold ingredients gently and create web patterns.
- Piping bag with fine tip: For detailed web decoration.
- Oven thermometer: To ensure accurate baking temperature.
How to Craft Your Spiderweb Cheesecake from Start to Finish
Step 1: Preheat your oven to 160°C (320°F).
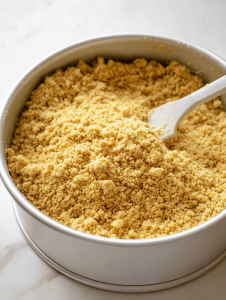
Step 2: Mix crushed cookies with melted butter, press into a 23cm (9-inch) springform pan, and chill.
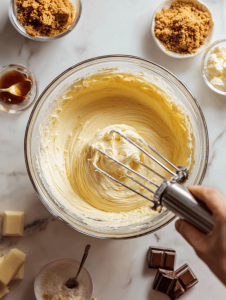
Step 3: Beat cream cheese, sugar, and eggs until smooth. Fold in sour cream and vanilla.
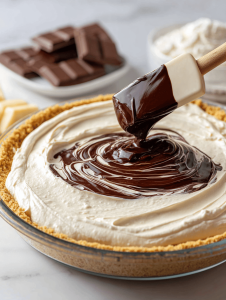
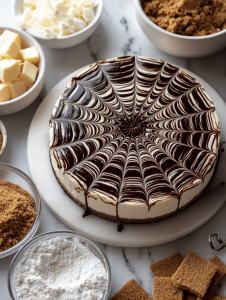
Step 4: Pour filling onto crust, swirl with chocolate syrup to create a spiderweb pattern.
Step 5: Bake for 50-60 minutes until the edges are set but the center jiggles slightly.
Step 6: Let it cool in the pan for 30 minutes, then refrigerate for at least 4 hours or overnight.
Step 7: Before serving, create a spiderweb design on top with whipped cream and chocolate.
Signs You’re on the Right Track with Your Spiderweb Cheesecake
- The crust is evenly pressed and slightly firm before baking.
- The cheesecake filling is smooth and free of lumps.
- The web pattern is clearly visible and slightly glossy after decorating.
- The edges are slightly puffed and the center has a gentle jiggle when tested.
Common Mistakes and How to Dodge Them
- Overmixing the batter, causing cracks or sinking.? CRACKED TOP — Gently tap the pan before baking to remove air bubbles.
- Decorating on a warm cheesecake, smudging the web.? WEB SMUDGES — Chill the cheesecake before decorating for cleaner lines.
- Using the same color for web and background.? WEB NOT STANDING OUT — Use slightly melted chocolate for contrast.
- Opening the oven, causing sudden temperature drop.? CHEESECAKE SINKS — Avoid opening oven door during baking.
Spiderweb Cheesecake
Ingredients
Equipment
Method
- Preheat your oven to 160°C (320°F). Prepare a springform pan by lining the bottom with parchment paper and lightly greasing the sides.
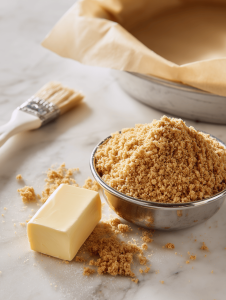
- Combine the graham cracker crumbs with melted butter in a mixing bowl until evenly coated and crumbly. Press this mixture firmly into the bottom of the prepared springform pan, creating an even crust. Chill in the refrigerator for about 15 minutes to set.200 g Graham cracker crumbs, 100 g Unsalted butter
- In another bowl, beat the softened cream cheese with a spatula or electric mixer until smooth and creamy, about 2-3 minutes. Add the sugar gradually and continue mixing until well combined.600 g Cream cheese, 150 g Granulated sugar

- One at a time, beat in the eggs, ensuring each is fully incorporated before adding the next, creating a silky batter. Mix in the sour cream and vanilla extract until just combined.3 large Eggs, 150 g Sour cream, 1 tsp Vanilla extract
- Pour the cream cheese filling over the chilled crust, smoothing the top with a spatula. Drizzle the chocolate syrup over the surface and gently swirl with a toothpick or spatula to create a marbled web pattern.50 g Chocolate syrup
- Bake the cheesecake in the preheated oven for 50-60 minutes, or until the edges are set but the center still has a slight jiggle. The top may turn a light golden color.
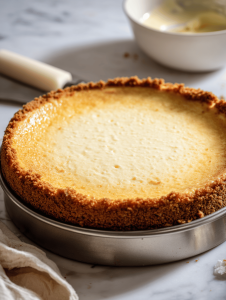
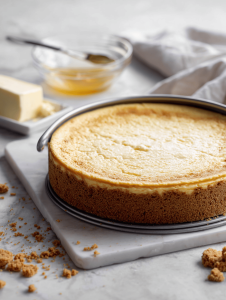
- Remove the cheesecake from the oven and let it cool in the pan for 30 minutes. Then, transfer it to the refrigerator and chill for at least 4 hours or overnight to ensure it’s fully set.
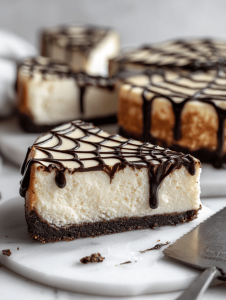
- Once chilled, melt the dark or white chocolate and transfer it into a piping bag fitted with a fine tip. Carefully pipe concentric circles or a web pattern on top of the cheesecake.100 g Dark or white chocolate
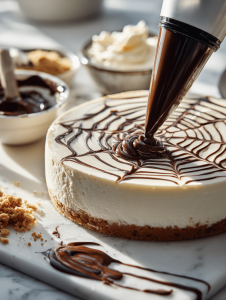
- Using a toothpick or skewer, drag from the center outward to form a web effect, creating a striking spiderweb design. Chill for an additional 30 minutes to set the decoration.
- Slice and serve your beautifully decorated spiderweb cheesecake. Enjoy the creamy texture with the rich chocolate web and impressive presentation!
Notes

Hi, I’m Daniel Whitaker, the voice and recipe developer behind Broth Psychologist. I’m so glad you’re here. This little corner of the internet started as a way for me to share comfort through cooking, but it has grown into something much deeper.
 Hi, I’m Daniel Whitaker, the voice and recipe developer behind Broth Psychologist. I’m so glad you’re here.
This little corner of the internet started as a way for me to share comfort through cooking, but it has grown into something much deeper.
It’s where food meets feeling, and where simple ingredients tell meaningful stories.
Hi, I’m Daniel Whitaker, the voice and recipe developer behind Broth Psychologist. I’m so glad you’re here.
This little corner of the internet started as a way for me to share comfort through cooking, but it has grown into something much deeper.
It’s where food meets feeling, and where simple ingredients tell meaningful stories.


