
Deviled eggs often get a bad rap for being simple, but mastering the balance of textures and flavors turns them into something special. The creamy filling contrasted with a tiny crunch on top makes each bite feel satisfying, almost like a little flavor symphony in your mouth. It’s about paying attention to the details—just a pinch of spice, the right amount of tang, and that perfect smoothness inside.
This recipe is my go-to for when I want something familiar but elevated. I love how the process invites you to tweak and play—adding a splash of pickle juice here, a dash of smoked paprika there. It’s not just a quick appetizer; it’s a small canvas for flavor, a way to make a familiar dish feel fresh and interesting.
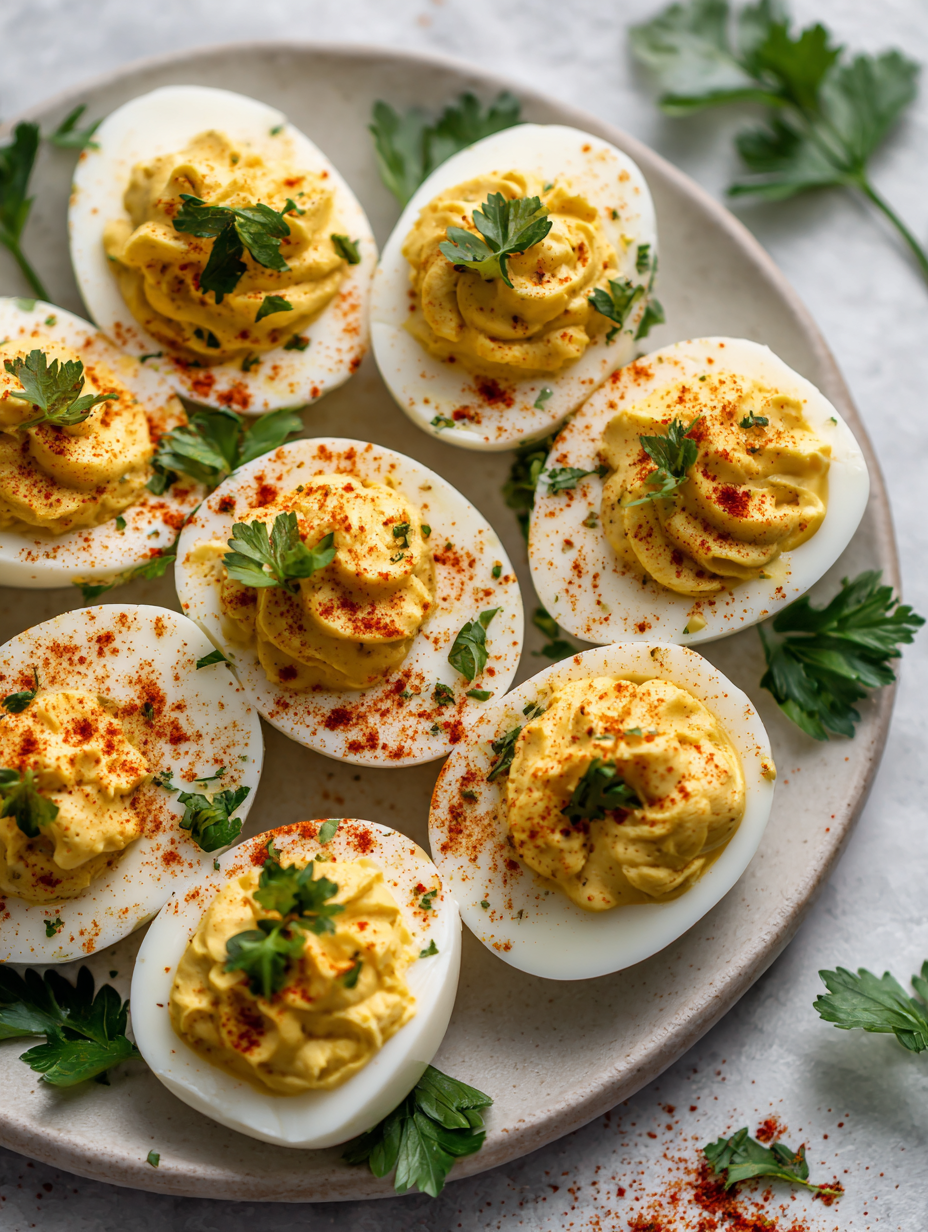
Focusing on the subtle art of balancing textures and flavors in deviled eggs, this recipe emphasizes the importance of creamy filling contrasted with a slight crunch on top, making each bite a complex, satisfying experience rather than just a simple appetizer.
The story behind this recipe
- I first stumbled on this recipe during a chaotic family gathering, where I needed something quick but impressive. It’s funny how a simple dish like deviled eggs can become a little moment of calm amid the noise, a small act of control. Over time, I realized that the real secret isn’t just in the filling but in the tiny tweaks—adding a touch of hot sauce, a sprinkle of crispy bacon—that make it mine.
- This dish has become my comfort zone, a way to bring a little bit of familiarity to any table. It’s also my secret weapon for turning a casual brunch into something memorable, even if I’m rushing out the door. The best part? It’s endlessly adaptable, a blank canvas for whatever I’ve got in the fridge or pantry.
- heading: The story behind this recipe
Ingredient breakdown: key components
- Eggs: I prefer large, organic eggs—they peel easier and taste richer. Skip old eggs; fresh ones are harder to peel cleanly.
- Mayonnaise: I use full-fat mayo for creaminess, but Greek yogurt can lighten it up if you want less richness. Watch for tang—yogurt adds more of it.
- Dijon Mustard: A dash of good Dijon adds sharpness. If you only have yellow mustard, use less to avoid overpowering the filling.
- Pickle Juice: Just a splash brightens the filling with a vinegary zing. If you’re out, a tiny squeeze of lemon works almost as well.
- Paprika: Smoked paprika gives a subtle smoky aroma—don’t skip it. If you only have sweet paprika, it won’t add the same depth but still adds color.
- Salt & Pepper: I season with a pinch of sea salt and freshly cracked black pepper—don’t be shy, it’s what brings everything together.
- Crispy Topping: Think chopped bacon or toasted capers—adds contrast. The crunch makes each bite more satisfying, so don’t skimp on texture.
Spotlight on key ingredients
Eggs:
- I prefer large, organic eggs—they peel easier and taste richer. Skip old eggs; fresh ones are harder to peel cleanly.
- Mayonnaise: I use full-fat mayo for creaminess, but Greek yogurt can lighten it up if you want less richness. Watch for tang—yogurt adds more of it.
- Dijon Mustard: A dash of good Dijon adds sharpness. If you only have yellow mustard, use less to avoid overpowering the filling.
Yolk Mixture:
- Pickle Juice: Just a splash brightens the filling with a vinegary zing. If you’re out, a tiny squeeze of lemon works almost as well.
- Paprika: Smoked paprika gives a subtle smoky aroma—don’t skip it. If you only have sweet paprika, it won’t add the same depth but still adds color.
- Salt & Pepper: I season with a pinch of sea salt and freshly cracked black pepper—don’t be shy, it’s what brings everything together.
Notes for ingredient swaps
- Dairy-Free: Mayonnaise substituted with mashed avocado or hummus. Keeps it creamy, but adds a different flavor note and texture.
- Vegan: Use vegan mayo or silken tofu blended smooth. It’s a bit lighter and less tangy, but still satisfying.
- Low-fat: Swap full-fat mayo for Greek yogurt. It’s tangier and less rich but still creamy enough for filling.
- Smoked Paprika: If you don’t have smoked, use sweet paprika plus a tiny pinch of cumin for smoky depth. Adds warmth and color.
- Pickle Juice: Out of pickle juice? Lemon juice or a splash of vinegar can brighten the filling with a similar zing.
- Eggs: Use farm-fresh eggs for richer yolks or older eggs for easier peeling. Fresh eggs are best for flavor, older peel better.
- Garnishes: Chopped chives, crispy bacon, or capers all add crunch and flavor contrast—use what you have on hand.
Equipment & Tools
- small saucepan: To boil the eggs gently and evenly.
- sharp knife: For slicing eggs and halving them cleanly.
- mixing bowl: To mash yolks and mix filling ingredients.
- piping bag or spoon: To fill the egg whites neatly and evenly.
- serving platter: To present the deviled eggs attractively.
Step-by-step guide to deviled eggs
- Gather all equipment: a sharp knife, a small saucepan, a mixing bowl, a piping bag or spoon, and a platter for serving.
- Place eggs in the saucepan, cover with cold water about 2.5 cm above eggs. Bring to a gentle boil over medium heat (~100°C / 212°F).
- Once boiling, turn off heat, cover, and let eggs sit for 10 minutes. This gentle cook prevents rubbery whites.
- Drain hot water, run eggs under cold water for at least 5 minutes. Cool eggs to room temperature or chilled for easier peeling.
- Peel eggs carefully, holding in your hand and gently tapping on the counter. Rinse to remove any shell fragments. Pat dry.
- Slice eggs in half lengthwise with a sharp knife. Use a teaspoon or small scoop to gently remove yolks, placing them in a bowl.
- Mash yolks with a fork until smooth. Add mayonnaise, Dijon, pickle juice, salt, and pepper. Mix until creamy and well combined.
- Taste and adjust seasoning—add more pickle juice for brightness or mayo for richness. For a spicier kick, stir in hot sauce.
- Fill a piping bag fitted with a star tip or a spoon with the yolk mixture. Pipe or spoon the filling back into egg whites, mounding slightly.
- Optional: garnish with smoked paprika, chopped herbs, crispy bacon bits, or capers for added crunch and flavor.
- Place filled eggs on a platter. Let sit for 10 minutes to allow flavors to meld. Serve at room temperature or chilled.
- For best texture, serve within 2 hours. If refrigerating, cover loosely and bring to room temp before serving.
Let the filled eggs sit for 10 minutes to set the flavors. Serve at room temperature or chilled, garnished as desired.
How to Know It’s Done
- Egg whites are firm and fully cooked, with no runny yolk.
- Yolk mixture is smooth, creamy, and well-seasoned, not dry or overly loose.
- Filling stays neatly inside the whites, not spilling out when served.
Classic Deviled Eggs
Ingredients
Equipment
Method
- Place eggs in a small saucepan and cover with cold water, ensuring about 2.5 cm of water above the eggs. Bring the water to a gentle boil over medium heat, then turn off the heat and cover the pan. Let the eggs sit for 10 minutes to cook evenly.
- Drain the hot water and immediately rinse the eggs under cold running water for at least 5 minutes. This cools them down quickly and makes peeling easier. Pat them dry with a paper towel.
- Gently tap each egg on a hard surface to crack the shell, then peel carefully, starting from the wider end. Rinse off any remaining bits of shell and pat dry.
- Slice each egg in half lengthwise with a sharp knife and carefully scoop out the yolks into a mixing bowl. Place the whites on a serving platter.
- Mash the yolks thoroughly with a fork until smooth and creamy. Add mayonnaise, Dijon mustard, pickle juice, smoked paprika, salt, and pepper. Mix well until the filling is silky and flavorful.
- Transfer the yolk mixture into a piping bag fitted with a star tip or use a small spoon. Pipe or spoon the filling back into each egg white half, creating a neat mound.
- Garnish the filled eggs with a sprinkle of smoked paprika and a few crispy bacon bits or capers for added crunch and visual appeal.
- Let the deviled eggs sit for 10 minutes to allow the flavors to meld. Serve at room temperature or chilled, garnished as desired.
Tips & Tricks for Perfect Deviled Eggs
- Bolded mini-head: Use fresh eggs for easier peeling and richer flavor. Slightly older eggs peel more cleanly, so choose accordingly.
- Bolded mini-head: For a smoother yolk filling, mash yolks thoroughly and sift through a fine sieve if needed before mixing.
- Bolded mini-head: Add pickle juice gradually, tasting as you go—brightens the filling without overpowering it.
- Bolded mini-head: When piping, squeeze gently to avoid overflowing or breaking the whites—practice helps control pressure.
- Bolded mini-head: Toast paprika lightly in a dry skillet before sprinkling—it enhances smoky aroma and deepens color.
- Bolded mini-head: Chill filled eggs for at least 10 minutes—this helps the flavors meld and keeps the filling firm.
- Bolded mini-head: If the filling is too loose, fold in a bit more mayo or a tiny bit of cream cheese for stability.
Common mistakes and how to fix them
- FORGOT to peel eggs properly → Gently tap and roll for easier peeling.
- DUMPED hot water too quickly → Cool eggs under running water for clean peeling.
- OVER-TORCHED eggs → Remove from heat immediately if yolks turn greenish.
- MISSED seasoning taste → Adjust with salt and pepper before filling.
Quick fixes and pantry swaps
- If eggs are hard to peel, splash with cold water and gently peel again.
- When yolk mixture is too loose, fold in a touch more mayo quickly.
- Splash hot sauce if filling feels flat—adds a spicy kick instantly.
- Patch cracked eggs with a tiny piece of plastic wrap before peeling for neatness.
- Shield filling with a damp cloth if it starts to dry out during piping.
Prep, store, and reheat tips
- You can prepare the yolk filling a day in advance; keep it covered and refrigerated. It firms up slightly, making piping easier.
- Assemble the deviled eggs up to 2 hours ahead. Cover loosely with plastic wrap and store in the fridge to prevent drying out.
- Shelf life: Deviled eggs are best enjoyed within 24 hours. After that, the whites may start to release moisture and soften.
- Reheating is not recommended; serve chilled or at room temperature. If you must re-serve, let eggs sit at room temp for 15 minutes to restore flavor.
Top questions about deviled eggs
1. How do I peel eggs smoothly without tearing the whites?
Gently peel the eggs under cold running water, tapping them lightly first to crack the shell, then peel carefully to avoid tearing the whites.
2. Should I use fresh or older eggs for boiling and peeling?
Use ripe, fresh eggs for flavor, but slightly older eggs peel easier. Boil eggs in plenty of water for even cooking.
3. How do I get a smooth, flavorful filling?
Mix yolks thoroughly until silky, then taste and adjust seasoning—add more pickle juice or hot sauce for zing.
4. What’s the best way to pipe the filling neatly?
Pipe the filling with gentle pressure, and fill just until the whites are neatly topped, avoiding overstuffing.
5. Can I add toppings in advance or just before serving?
Garnish with smoked paprika or crispy toppings just before serving to keep texture fresh and vibrant.
6. How long can I keep deviled eggs in the fridge?
Store deviled eggs in the fridge, loosely covered, for up to 24 hours. Bring to room temp before serving for optimal flavor.
7. My filling is too runny—what can I do?
If yolk mixture is too loose, fold in a bit more mayo or cream cheese to firm it up for piping.
8. How do I fix bland or flat-tasting filling?
Add a splash of vinegar or lemon juice to brighten the flavor if it tastes flat or dull.
9. How can I make the presentation more attractive?
Use a star piping tip for a decorative swirl or a teaspoon for a more rustic look, depending on occasion.
10. Why did my eggs crack while boiling, and how do I prevent it?
If eggs crack during boiling, reduce heat slightly or turn off heat earlier, then let sit for gentle cooking.
Making deviled eggs with a twist isn’t just about impressing guests; it’s about reconnecting with a simple, satisfying comfort. Each bite, with its creamy filling and crunchy topping, reminds me of family gatherings and lazy weekend brunches. It’s a humble dish that tastes like home, no matter how many times I tweak the recipe.
In the end, it’s the small details—the perfect peel, the right seasoning, a sprinkle of paprika—that turn this classic into something personal. Whether serving for a crowd or just for myself, I find joy in the process and pride in the familiar flavors that always seem to brighten a table.